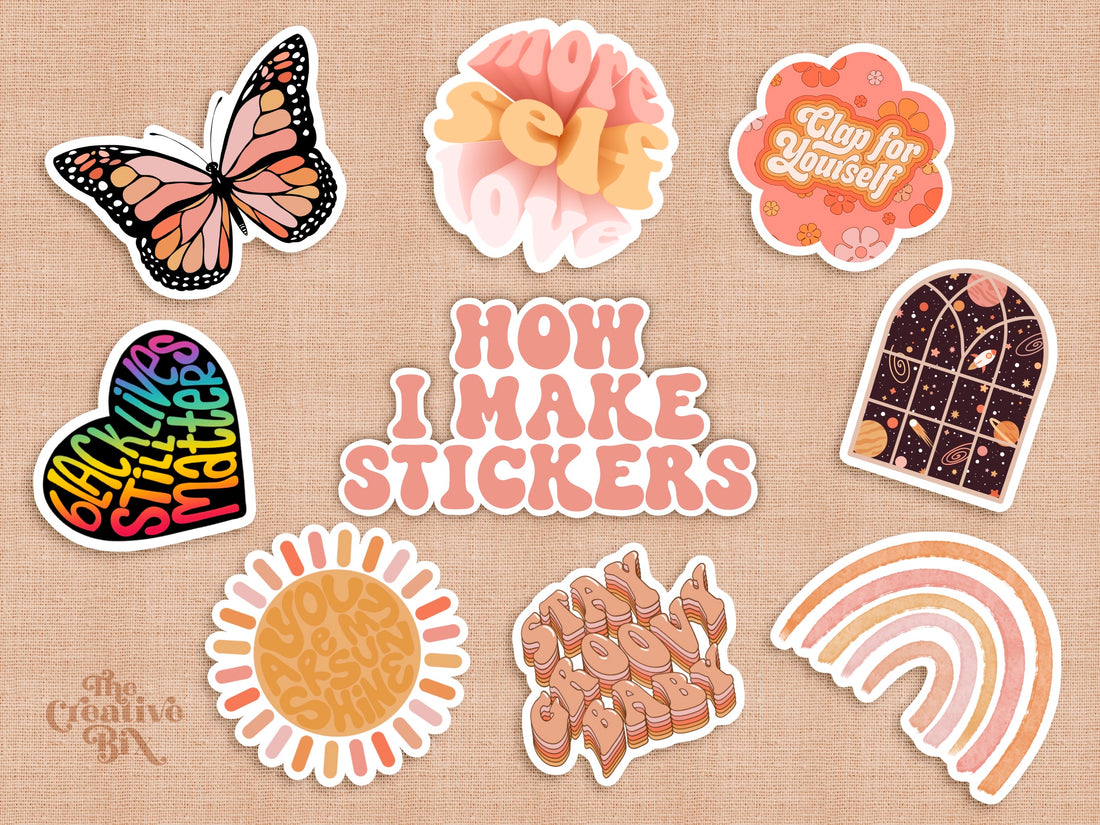
One of the most common ways digital artists can make money on the side is by selling stickers! Who would have thought that sticker obsession you had as a kid would end up being a source of income? And the best part is you made it yourself, or at least created the design!
And full disclosure before we go further into how I make my stickers, I do not print my stickers on my own--a.k.a. I do not own a Circuit machine or something similar, so if you have any questions about that, I'm of no help. Maybe in the future!
Here is a simplified overview of my sticker making process!
- I design a sticker in Procreate.
- I send the design to a company, review the proofs, and they'll print and cut it out for me.
- They send the stickers back to me.
- If someone makes a sticker order I add package them up and send them to their forever homes!
Designing A Sticker
To make a sticker, you can truly design anything you want. You can make it a quote, an illustration, a pet portrait, whatever you'd like! Once you're done, you'll want to save your design as a transparent PNG file.
If you're making your design in Procreate, to get rid of the background and make it transparent, go into the layer menu and uncheck the box next to “Background color” layer. Then go to the wrench icon, tape “Share,” and tap “PNG.” You can save it in your camera roll, in your files, or wherever you'd prefer.

Printing the Sticker
From there, you can upload your saved design to any site you'd like. If you'd like to upload a design and then have the company print and ship the sticker, RedBubble is a great Print On Demand website. After creating and uploading the design, you don't have to lift a finger with P.O.D. websites. And with RedBubble you can also put your design on many other products including shirts and mugs! However, you generally don't see as much profit. You'll usually receive about 10% of the profit, since the company processes the order, uses their own materials, and ships it for you.
I definitely recommend RedBubble if you're new to the sticker game, but if you want more control over your packaging and profit margin, you can either print them on your own, or use a sticker printing company.
I prefer using a company that prints the stickers for me, because it personally saves me time, and that way I can create more designs! They print my design, send it back to me, and I market and sell them in a way that works best for my brand. Long term, it might be more economical for you to print them yourself, but it just depends on your personal preference.
Companies I've used to print my stickers in the past include Sticker Mule, Sticker App, and Vinyl Disorder! All of them are great quality and they have lots of different options for printing stickers like: matte, clear, holographic, glossy, etc. just check out different sites to see what they offer! If you decide to go with Sticker Mule, you can use my link to get $10 off your first order! I don't make any money from this link. You'll just get $10 off your order and then I'll also get $10 off my next order!
If you are printing your own stickers at home and need to get a good margin around the edges, follow the video below for an easy tutorial, and then I'll also give a little extra tip below the video!
After you've created the white outline, if you zoom in you'll see that the edges are somewhat jagged. The software has done most of the hard work for you, but if you want to ensure the cleanest edge, you can go around the edges with a brush in the same color!

I generally use my Sadie brush for this, but you can use whatever brush works best for your design.

Happy Creating!

